
Affordable Comfort: Instructions for a Low-Cost Mattress
Last modified on:
YOU’RE NOT CHEAP
You just have “different financial priorities”.
We get it. Financial priorities are as individual as fingerprints, and for some of us, blowing up the credit card on a Friday night is far more important than the surface we pass out on. Understood.
Or maybe you blew your kids’ inheritance on a girl’s trip to Vegas. It’s okay.
Lost it all on a poorly timed #GME trade? It’s happened to a lot of us.
With these low-cost mattress instructions, you can build an affordable, supportive mattress that looks & feels great.

Use the same high-quality components the pros use.
Regardless of your funds, it’s easy to make a great mattress on any budget.
And listen, you should feel free to mix & match different blueprints to your heart’s content.
If you need more info, you can read more about support layers, comfort layers, and zippered covers.
Learn about how your height & weight (BMI), and sleep style might influence what you and your family like best to sleep on.
You’ll still end up with a great sleeping surface and that’s what’s important.
Don’t even worry about it and just give yourself a nice place to get some rest.
We offer a basic blueprint with some variation suggestions in the notes.

An Extra Budget-Friendly Mattress
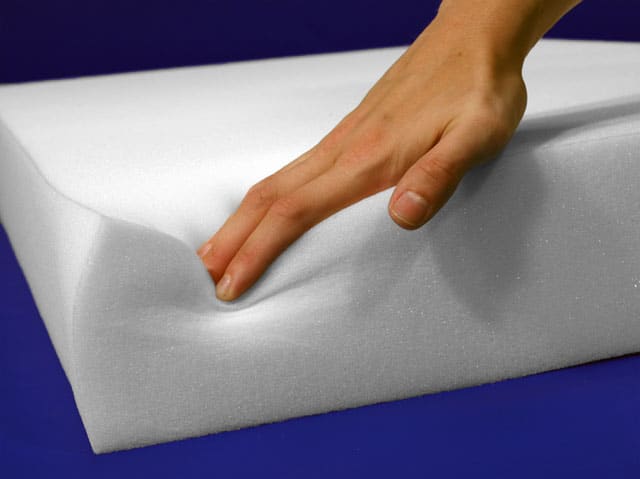
When it comes to choosing a budget-friendly bed, the support layer is a crucial consideration.
Materials
Instructions
- Spread out your zippered cover on your bed base. A slatted base is ideal, but whatever you have will work fine.
- Unzip and remove or fold back the top of your zippered cover.
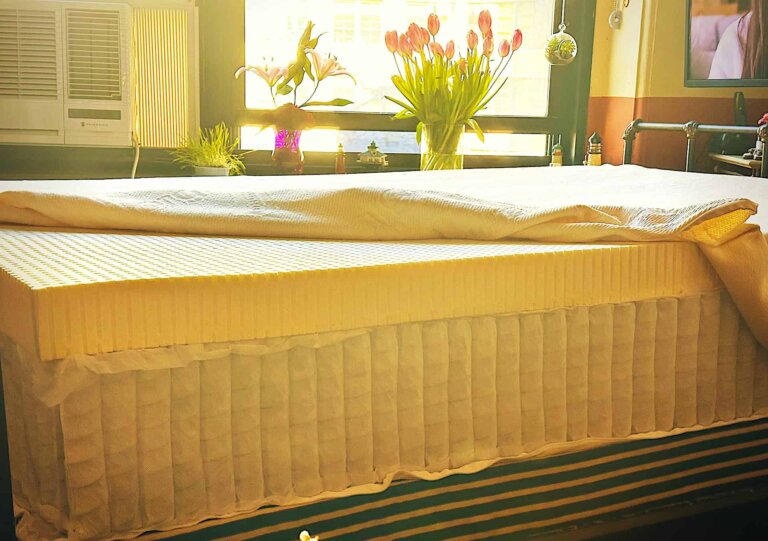
- Lay down your support layer foam on top of the bottom of the cover. Take some care to line up the foam with the interior of the cover.
- Stack your foam comfort layer on top of the support layer. Again, give some attention to lining things up snugly.
- Zip up your cover.
- Take a bow and take a nap. Your new mattress might be a helluva bargain but knowing exactly what’s inside and making it yourself? Priceless.
Notes
Even if you’re on a tight budget, it’s essential not to compromise on the quality of the support layer. If you are on the very light side (130lbs or less) along with a low BMI, or if you’re making this mattress for a child, you can probably go as low as 3″ for the support layer.
For an adult however, you really can’t go any lower.
For heavier and/or higher BMI sleepers, consider a thicker support layer (5 or ideally at least 6 inches) along with a thicker comfort layer. If you’d like to add another layer while keeping costs down, a one or 2-inch layer of egg crate foam may do the trick.
And you can play around with this egg crate layer by placing it on top of your comfort layer or below it. You can try it with the egg crate undulations facing up or facing down.
All these variations with the comfort layers will make subtle differences in the feel of the mattress. Playing around with the layer arrangement is part of the magic of a DIY mattress.
This ability to test and try different layer configurations is why we always recommend buying all your components, EXCEPT your cover, first. Then, try out your mattress build for at least a week or two before buying a zippered cover and wrapping it all up.
This way, if you want to add more layers (or remove a layer or two for more complex builds), you can do so before committing to a mattress cover depth.
The VIDEO below ⬇️ is from Ken Hightower demonstrating how to assemble an all-latex foam mattress. While our mattress in this blueprint isn’t latex, it is an all-foam mattress and certainly close enough that you’ll get the general idea.