From Frustrated Buyer to DIY Mattress Convert: Why I Assembled My Own Mattress
Last modified on:
 1")
It Wasn’t About the Price. At Least, Not Really.
Sure, cost was one of many factors.
But my turn to DIY mattress building wasn’t really driven by bargain hunting.
I was ready to spend real money, $3,000, $4,000, even $5,000, if it meant I could finally get a mattress that felt amazing and lasted.
I was pretty fed up with the same cycle every time: spend a small fortune, sleep decently for a couple years or so (if we were lucky), then start noticing the dreaded sag and creeping discomfort.
And within just a few years, I’d be back at square one, shopping for a new mattress all over again. That cycle was getting draining: both money-wise and time-wise. Even just the research was exhausting.
I wasn’t necessarily looking for a bargain, but I did want something dependable.
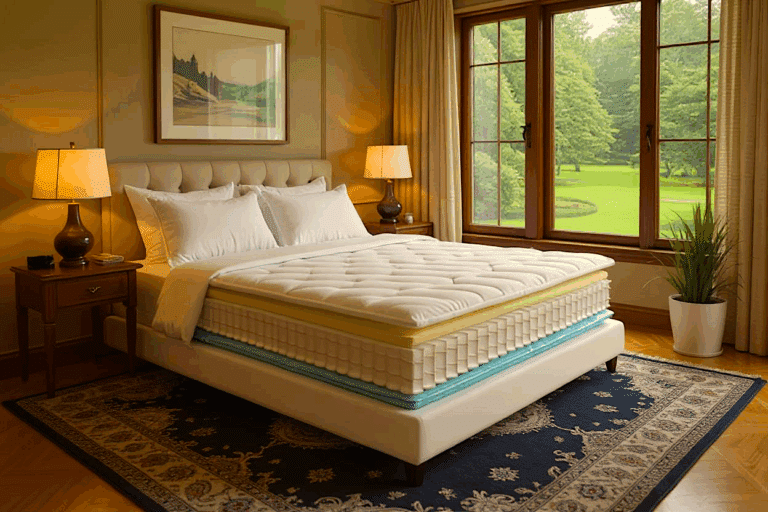
The Hidden Weak Spot: Comfort Layers That Fail Too Fast
What I didn’t understand back then (but do now) is that the part of the mattress that fails first is almost always the top layer (aka the comfort layer).
That plush upper section is often made of low-density memory foam or cheap polyfoam in even expensive mattresses.
These materials feel great at first, but they degrade quickly under daily use and proximity to your body heat. If your mattress feels “worn out” after 2–3 years, it’s usually that comfort layer giving up, not the core support system beneath.
And here’s the kicker: mattresses are almost always sold as sealed units.
So even if the support layer is still in excellent shape, you’re stuck tossing the whole thing because one part wore out.

The $5K Gamble?
I really wanted to know: Would a $5,000 mattress truly be better than a $2,000 one? Or would I just be setting myself up for a more expensive version of the same disappointment?
There was no way to know.
The materials used in any particular mattress were rarely disclosed in detail. Manufacturers seemed to hide behind hopped-up marketing language like “cooling cloud gel” and “adaptive comfort response” instead of giving actual specs like coil counts, foam density, or ILD ratings.
I wasn’t ever sure what it was I was actually buying. And since most mattresses are factory-sealed, it’s not like I could open one up and have a look.
Spending big on a mattress felt like gambling, and I felt like there was a good chance I’d lose… again.
The Mattress Industry Maze
The deeper I dug, the more the mattress industry felt like a rigged game:

DIY Seemed Absurd, Until It Didn’t
When I first stumbled across the idea of DIY mattress building, my reaction was basically: “Oh sure. Then next I’ll just build my own sofa.”
I mean, I can put together IKEA furniture without flinging myself out the window (usually), but I’m not that handy. It seemed like a ridiculously huge lift.
But the more I learned, the more doable it started to seem.

My Priorities: Clean, Comfortable, and Built to Last
I wasn’t trying to be cheap. I wanted the best of the best: quality pocket coils, high-end latex, organic materials, and a breathable, zippered cover.
The fact that I’d save some money compared to buying a retail version was just a nice bonus.
What really mattered to me was:


A More Sustainable, Saner Way Forward
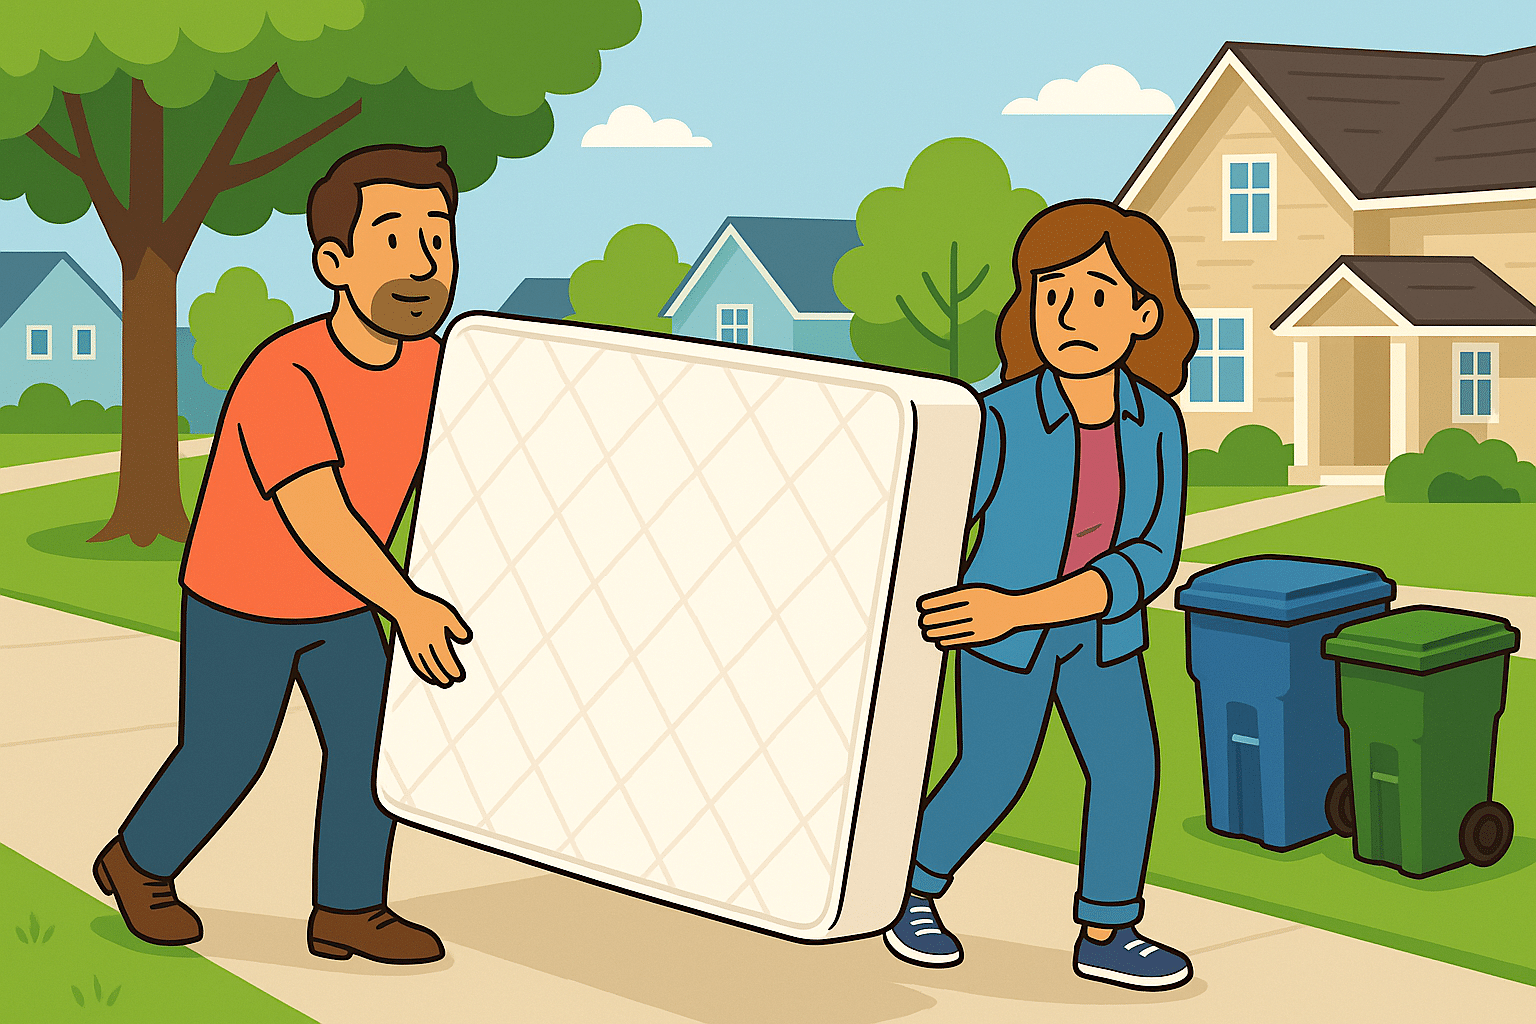
One of the most satisfying realizations? Learning that most quality support layers, especially pocketed coils and high-density latex, can easily last a decade or more without issue.
So all those mattresses I’d tossed over the years? They very likely had perfectly fine support cores. I was just throwing them out because the top few inches failed. (That wastefulness haunts me a little bit because it doesn’t have to be that way.)
Now, I know I’ll never do that again. When my comfort layer wears down, I’ll unzip the cover, swap it out for a new one, and get back to a refreshed and cozy bed again.